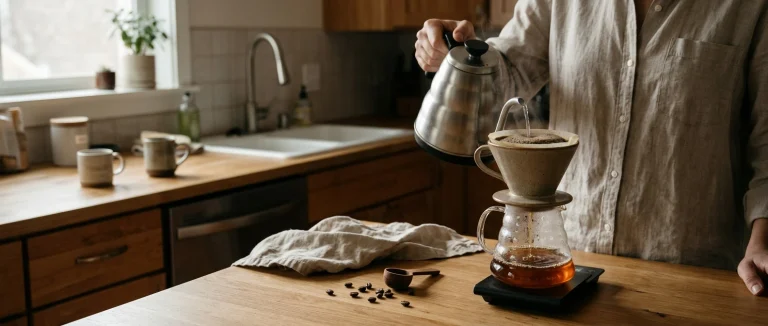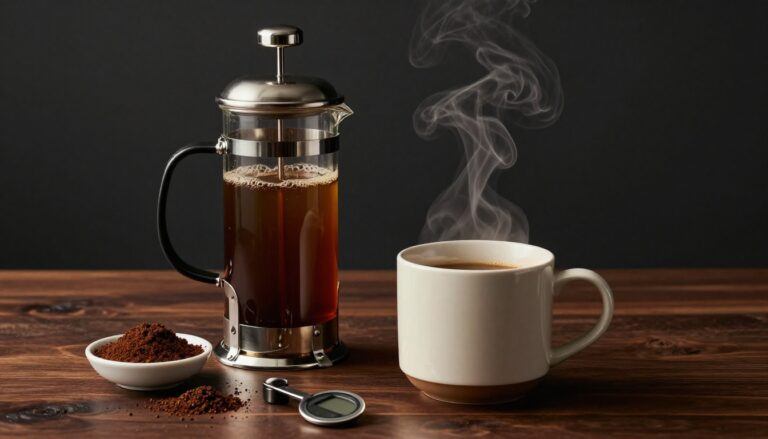

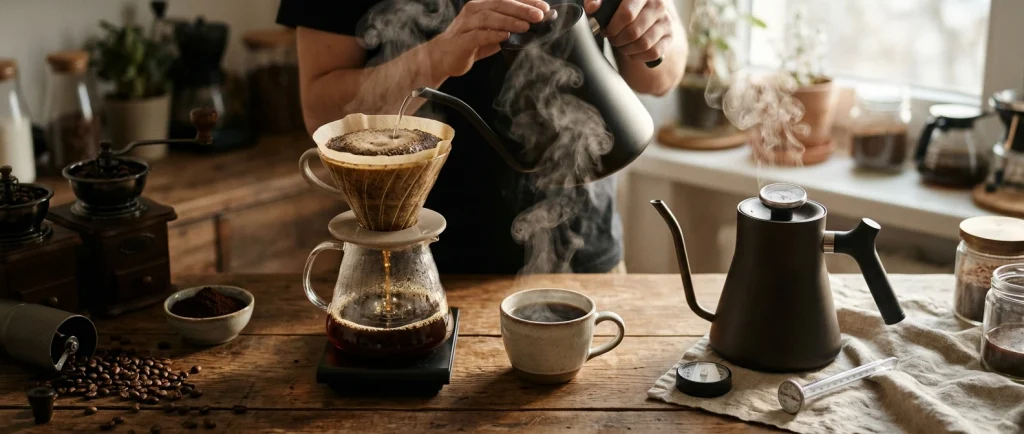
Sour on Tuesday, bitter on Wednesday, same beans, same grinder, same mug. When a cup swings like that, the water is the first place I’d look, specifically how hot it was when it reached the grounds. Water temperature for brewing coffee is the one dial most of us never turn on purpose. We pour whatever the kettle hands us and blame the beans.
I’d rather you blame the kettle, gently. It’s an easy fix, and the cup gets better right away.
The cup you can’t quite explain
You know the one. It isn’t undrinkable, it’s just off. You take a sip, you frown a little, you take another sip hoping it improved.
Most home brewers can taste that something is wrong without having a word for it. Sour and bitter are the two words worth having, because they point in opposite directions. Sour usually means the water didn’t pull enough out of the grounds. Bitter usually means it pulled too much, or pulled the wrong things.
Grind size and brew time matter here too, and they’re worth their own attention. Temperature is the quiet one, though, because it changes from morning to morning without you noticing. A kettle that just boiled, a kettle that sat for five minutes, a cold mug on a cold counter: each one gives you a different cup from identical beans.
What the heat is actually pulling out of the grounds
Ground coffee is a bundle of things that dissolve at different speeds. The bright, fruity, tart compounds come out first. Sweetness comes out in the middle. The heavier, darker, drying compounds come out last, and they come out faster the hotter the water is.
So temperature works like a speed setting on extraction. Cooler water moves slowly and may never reach the sweet middle. Hotter water moves quickly, gets the sweetness, and then keeps going into the bitter end of the range.
That’s the whole mechanism, and it explains the taste of both bad cups. The cup is sour because the brew stopped before the sweetness arrived, or bitter because it ran past it.
Too cool: the sour, thin, slightly sharp cup
A cup brewed with water that’s too cool tastes the way an unripe plum smells. It’s sharp at the front, a little like lemon peel, and then it just stops. There’s no middle and no sweetness to soften the edges.
The body goes thin too. You expect coffee to have some weight on the tongue, and this cup feels closer to flavored water. It’s the cup that makes people say they need to add milk or sugar, when the real problem happened ten minutes earlier at the kettle.
A few ordinary habits cause it:
- Pouring after the kettle has sat long enough to cool well below where you wanted it.
- Skipping the rinse, so a cold filter and a cold brewer pull heat out of the water.
- Pouring into a cold glass carafe or a mug that’s been sitting in a cold kitchen.
- Using a small amount of water in a big, cold vessel, which loses heat fast.
Heat disappears faster than most of us think, especially in the first few seconds of a pour.
Too hot: the bitter, dry, flat-finishing cup
The opposite cup is easier to recognize once you’ve had it on purpose. It’s harsh at the back of the tongue, and it leaves your mouth feeling dry, a bit like black tea that steeped too long.
What I notice most is the finish, or the lack of one. A good cup trails off slowly and leaves something pleasant behind. A cup brewed with water straight off a hard boil ends flat, with a papery bitterness sitting where the sweetness should have been.
Lighter roasts suffer in a particular way. The delicate fruit and floral notes get flattened, and you’re left with a generic, roasty edge that has nothing to do with what’s printed on the bag. Darker roasts take it differently, turning ashy and a bit burnt, because they were already close to bitter before the water touched them.
Where I land, and how I get there without a thermometer
My starting point is 200°F, about 93°C. It’s warm and committed, and it sits comfortably inside the range most coffee people work in. It’s hot enough to reach the sweetness and cool enough to leave the harsh end alone.
You don’t need a thermometer to get close. Water boils at 212°F at sea level, and a little lower the higher up you live. So the simplest method is to bring the kettle to a full boil, take it off the heat, and let it rest for about thirty seconds before the first pour. A larger kettle, a cold room, or a thin metal pot will shift that by a few seconds either way, so treat it as a first guess and let the cup correct you.
Rinsing the paper filter with hot water before brewing helps too. It warms the brewer and the mug, and it rinses out any papery taste, so the temperature you aimed for is the temperature the grounds actually meet.
Then taste, and change one thing at a time. If the cup comes out sharp, wait a few seconds less before pouring. If it comes out dry and bitter, wait a few seconds more. Small moves are enough.
The method itself is a separate matter, and I’ve written about it elsewhere. My guide on how to make pour over coffee covers the pour, and the French press tips cover steeping. Temperature sits underneath both of them.
Small changes by roast: lighter, darker, and everything between
Roast changes how easily coffee gives up its flavor, so the same water behaves differently from bag to bag.
Lighter roasts are denser and harder to extract. They like the water a little hotter, closer to 205°F (96°C), which in practice means barely resting the kettle after the boil. A light roast brewed too cool is the sourest cup you can make.
Darker roasts are more porous and give up their flavor quickly, along with their bitterness. They do better with slightly cooler water, around 195°F (90°C), so a rest closer to a minute after the boil. Brewed that way, they stay round and chocolatey instead of turning ashy.
Medium roasts are the easy middle, and 200°F is where I’d leave them. If you drink a mix of roasts through the week, start there and nudge the water a few degrees up or down depending on the bag. Those few degrees show up in the cup more than you’d expect.
The kettle that makes this easy to repeat
Counting seconds after a boil works, but it’s a little fragile. One slow morning and one rushed morning give you two different cups, and you’re back where you started.
A kettle that lets you set the temperature takes the guessing out. You choose 200°F once, press a button, and the water is there when you pour. A gooseneck spout adds a calm, steady stream, which matters when you’re pouring slowly over the grounds. It makes the morning a little quieter, since the one decision that changes the cup is already settled.
If you’d like steadier results, I’ve put together a guide to the best gooseneck kettles under $100, including a few on Amazon that let you set a temperature. The links there are Amazon links and may earn a small commission at no extra cost to you. Think of it as a comfort for the routine, not a purchase you need to make. The cup still depends on the water, and the water is easy to get right.
Warm, not scalding. That’s the standard I brew to.